Nålbinding
Also known as ‘Viking Knitting,’ nålbinding is an ancient art form that predates knitting and crochet by centuries. This nickname is a bit of a mislead; despite most fabric fragments being found in Viking settlements, ancient samples have been found all over the world.
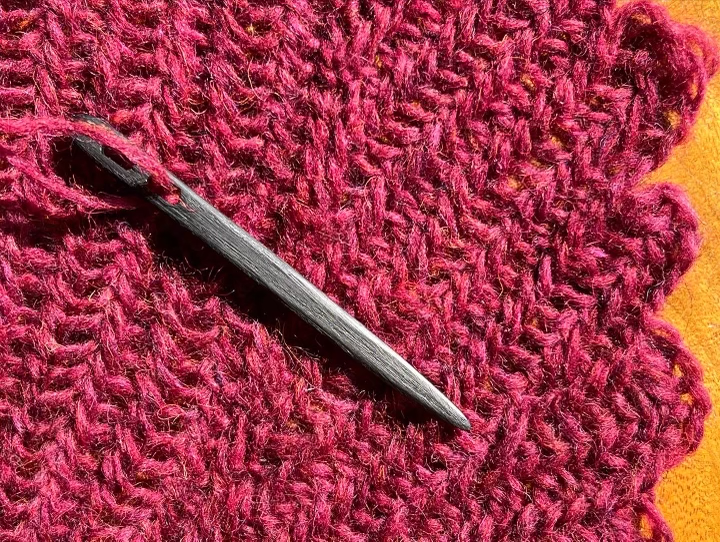
At the risk of sounding dramatic, there is something primal about the act of nålbinding. With just one needle—often made of horn or bone—one can create fabrics of different weights, drapes, and designs, and, unlike knitting and crochet, it cannot unravel. There is a Scandinavian proverb that says if you like someone, you knit them mittens; if you love them, you nålbind the mittens.
There’s something about using nothing but wool and bone to create something so sturdy and beautiful.
Nålbinding
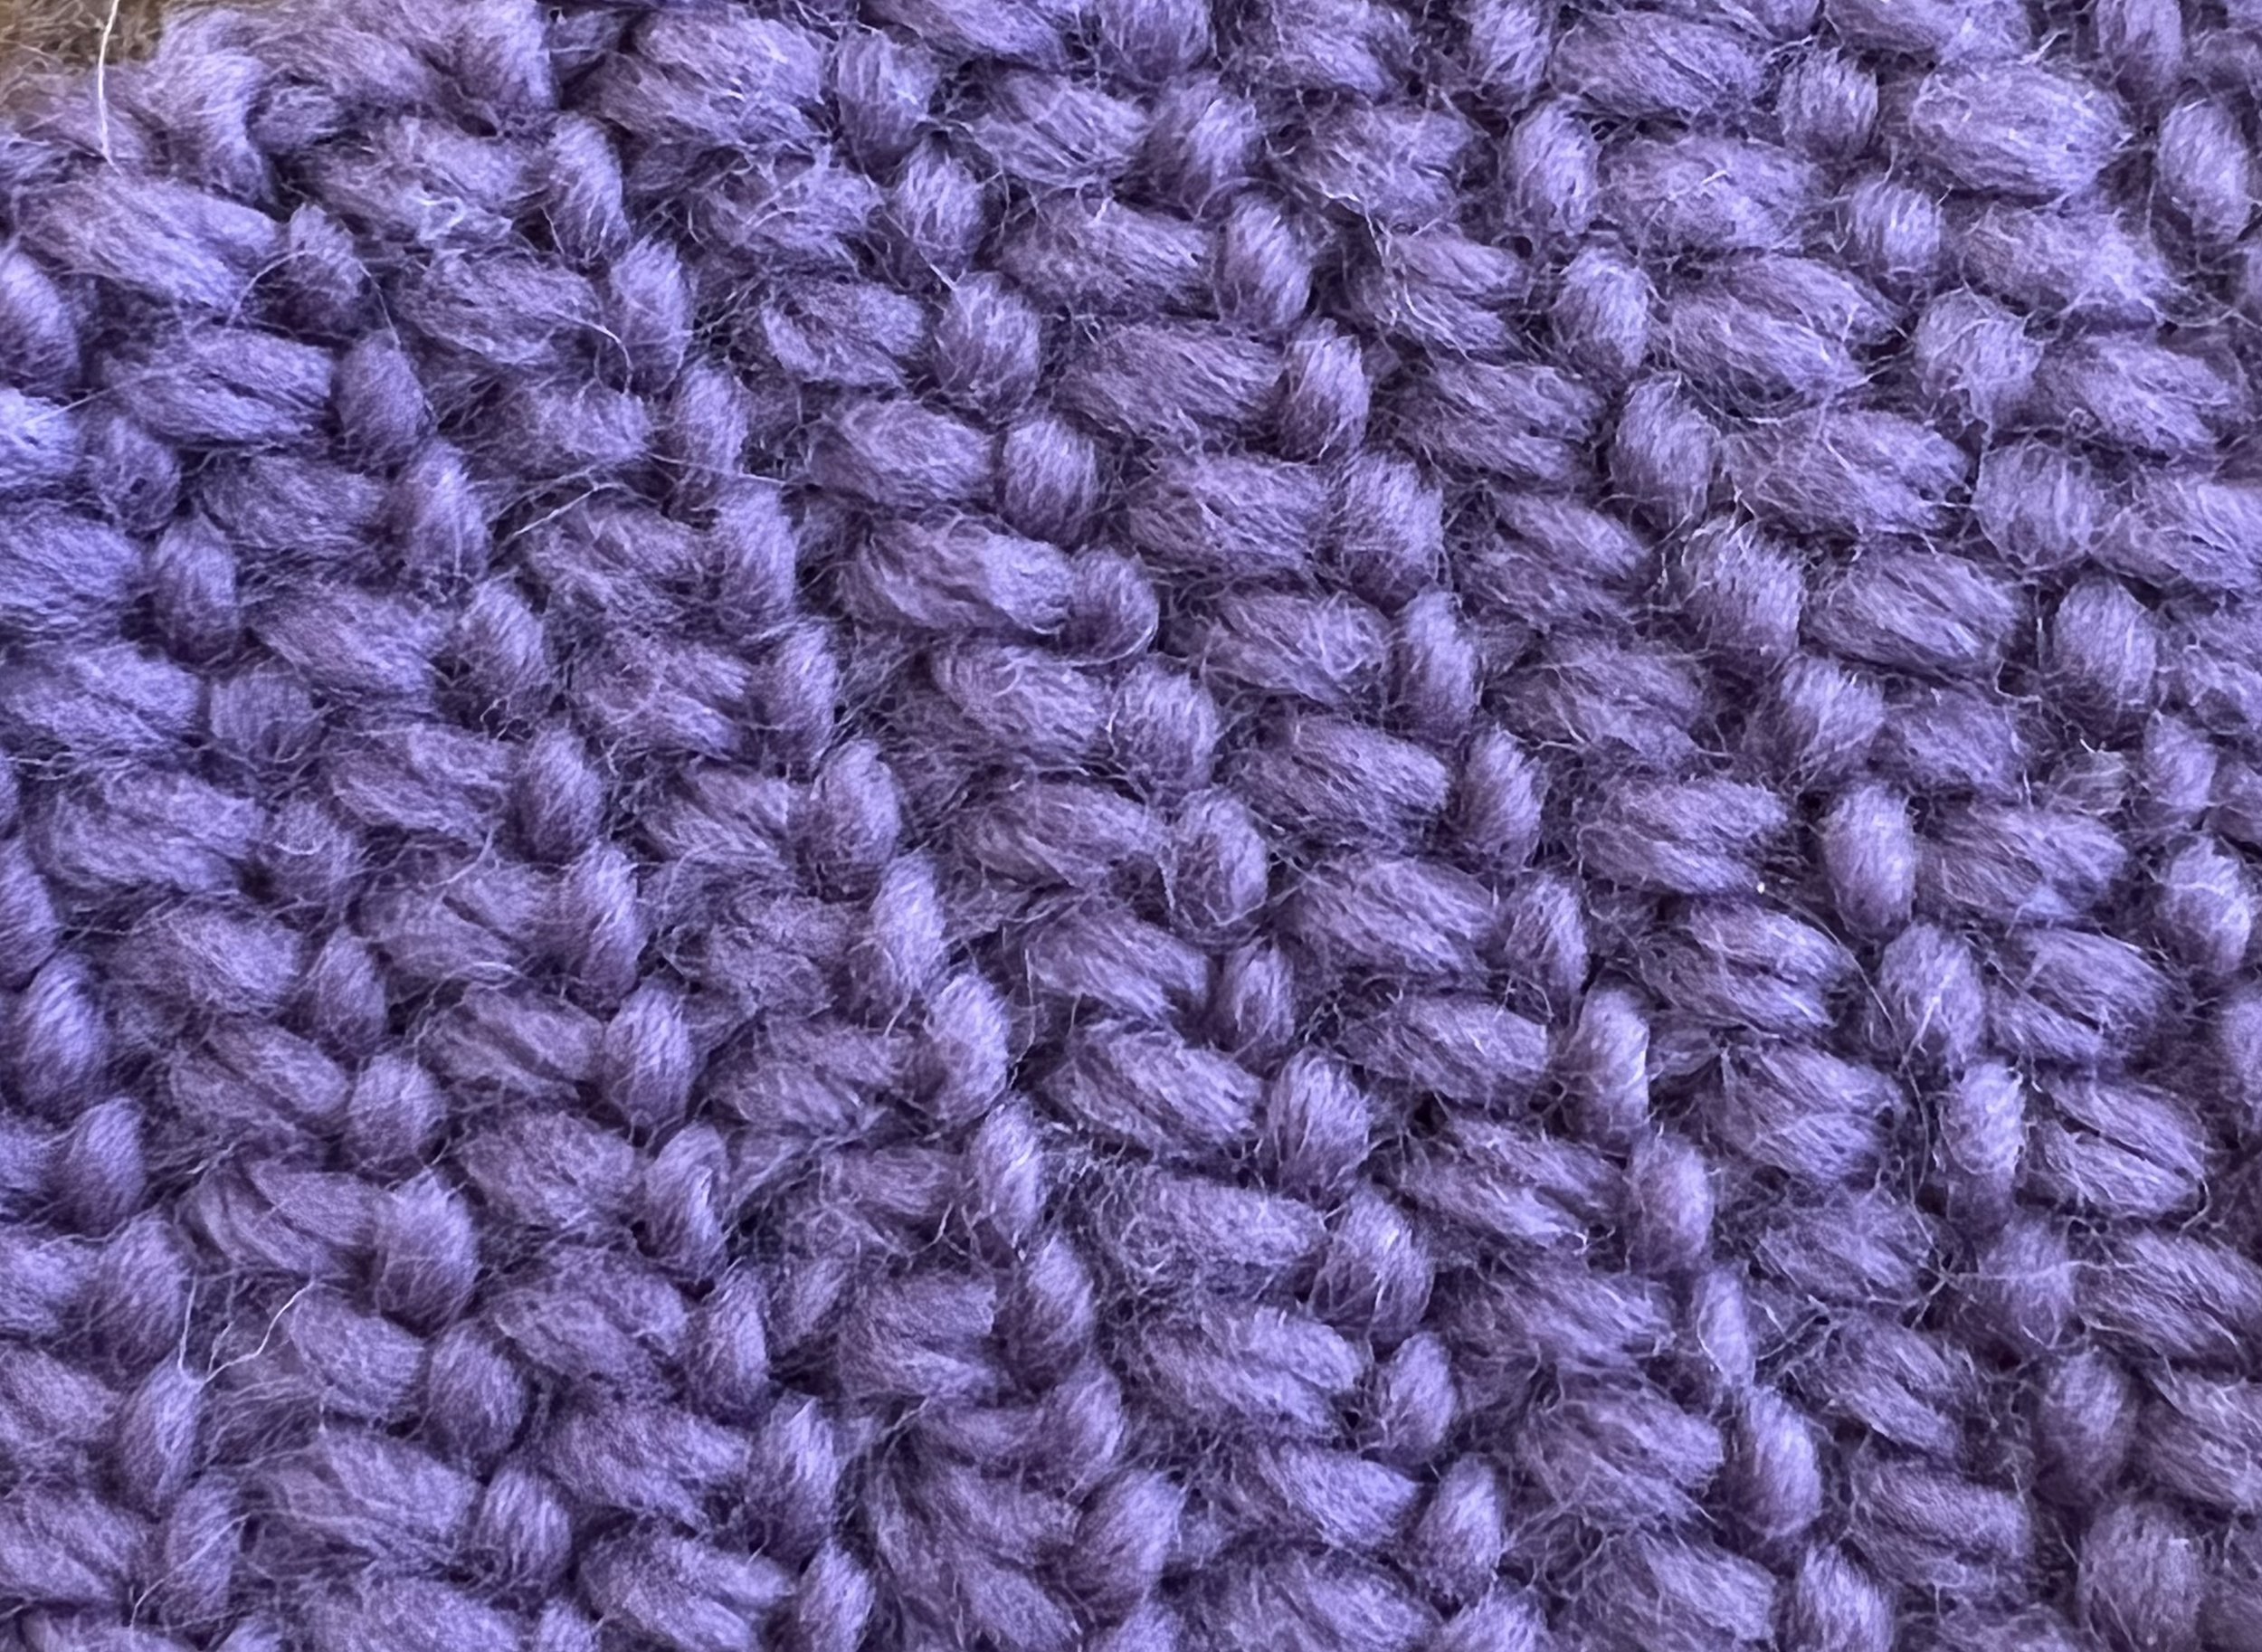
Oslo Stitch Tutorial and Gallery
Creating a foundation row
1) Tie a basic beginning loop and place it on your thumb, tail down. Place working yarn behind thumb loop.
2) Slide needle along the pad of your thumb, under both the beginning thumb loop and working yarn; this will create a second loop. The new loop should be BEHIND the original loop. The working yarn should be hanging down behind the new loop. There should now be three pieces of yarn on your thumb in this order: old loop closest to the end of your thumb, new loop in the middle, and the working yarn last.
2) Slip beginning loop off of your thumb. It will now be resting on the pad of your thumb.
3) Insert needle through the loop behind your thumb, from front to back. Turn needle about a quarter turn so that the tip is easily passed along the thumb pad and under the thumb loop and working yarn. Pull yarn until it is snug but not tight. you should once again have two loops around your thumb, oldest to newest, and the working yarn third.
4) Repeat steps 2 and 3 until you have achieved the desired foundation row length.
Joining to work in the round.
1) With work still on your thumb, smooth out the foundation row and pull the beginning of the work around, taking care not to twist the row. If you twist the row, you will create a möbius, which can be cool, but might not be what you are intending to do. You can see that the top edge of the foundation row has a series of right-leaning sections of yarn, each one is a stitch.
2) Insert the tip of your needle under the first stitch, from front to back, then insert your needle tip from front to back through the loop behind your thumb and continue on as above, picking up on foundation row stitch for every new stitch you make. Continue working in the round until your work reaches your desired length.